


EYECANDY GRADIENT GLOW
TUBE OF CHOICE I USED ISMERAL RAC,S
HERE
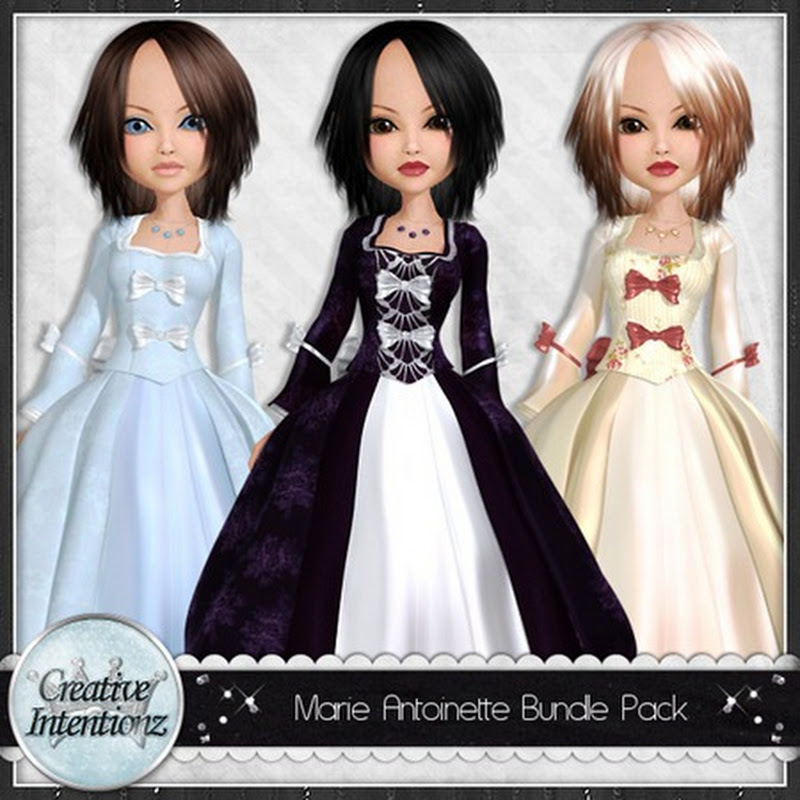
SCRAPKIT GET LUCKY BY JENNY
TUBE OF CHOICE I USED ISMERAL RAC,S
HERE
SCRAPKIT GET LUCKY BY JENNY
ME:)
YOU CAN GET IT HERE
YOU CAN GET IT HERE
mask of your choice
image of your choice
I found mine in photobucket
just type in irelend scenes in the seach box
OPEN PSP NEW IMAGE 600X600 FLOOD FILL WHITE
COPY AND PASTE FRAME 3 RESIZE
AS NEW LAYER
WITH MAGIC WAND CLICK INSIDE
MAKE SURE THE SMALL BITS NEAR THE FLOWERS AND RAINBOW
ARE CLICKED
SELECTIONS MODIFY BY 5
COPY AND PASTE FRAME 3 RESIZE
AS NEW LAYER
WITH MAGIC WAND CLICK INSIDE
MAKE SURE THE SMALL BITS NEAR THE FLOWERS AND RAINBOW
ARE CLICKED
SELECTIONS MODIFY BY 5
using your magic wand click the inside of the frame go
up to layers add new lets press ok now floodfill
it with an papers of your choice
by going to Materials-background-foreground-patterns-paper or image
now lets add the tube
I add the her under the frame the dulpicate her and move the copy to the
top then taking the eraser tool I erase parts at the bottom of the frame
now lets add some elements
COPY AND PASTE RAINBOW RESIZE AND PLACE
over the top of the image
then go to prop. change the
blend mode. to screen
press ok or play with it
now add my unicorn
now making sure your on the paper go to layers down to new mask layer now
down to from image pick which mask you want to use 1st press ok
merge group and copy and paste it behind your frame
now do the same steps for your 2nd mask layer and copy and paste it behind your
frame but above the last mask layer
add your name
add your copyrights
save as an png
hugs
Jenny


No comments:
Post a Comment