





you need the following for this tut
you can grab it here at
its called
Gateway to Annwn
awesome St.Pattys kit hunni
ty for letting use it :o)
mask of your choice
font of your choice
1 tube of your choice
I'm using Anna Marine
I got mine from CILM
you can get it from COD
1 image of your choice
I went to photobucket
mask of your choice
if this your mask pls
let me know I would love to give u
creidt for it
now lets get started
OPEN PSP NEW IMAGE 600X600 FLOOD FILL WHITE
COPY AND PASTE FRAME 3 RESIZE
AS NEW LAYER
WITH MAGIC WAND CLICK INSIDE
SELECTIONS MODIFY BY 5
COPY AND PASTE FRAME 3 RESIZE
AS NEW LAYER
WITH MAGIC WAND CLICK INSIDE
SELECTIONS MODIFY BY 5
using your magic wand click the inside of the frame go
up to layers add new lets press ok now floodfill
it with an papers of your choice
by going to Materials-background-foreground-patterns-paper or image
now add the image
I just copied and pasted mine
then took my eraser and erase
what i didnt want
now put that at the bottom above
the white background layer.
now lets add the tube
I add the her under the frame the dulpicate her
now take your eraser tool and erase anything that
is hanging under the frame.
now on do the same on the top tube
now move that tube above the frame
now erase what you want to
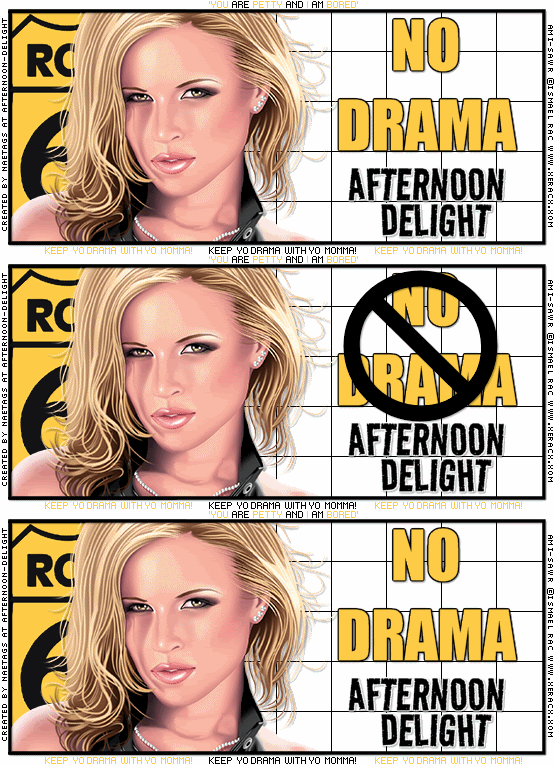
see my tag for how I did it.
now lets add some of elements
I added
the mushrooms at the corner of the frame
then i added the bird on top of that
then I added an rainbow under the
paper layer but above the image layer.
then i change the blend mode
to screen bout 45
now I added an butterfly at the top of the frame
at the top of the butterfly
now lets add the mask layer
now making sure your on the paper go to layers down to new mask layer now
down to from image pick which mask you want to use 1st press ok
merge group and copy and paste it behind your frame
now do the same steps for your 2nd mask layer and copy and paste it behind your
frame but above the last mask layer
add your name
add your copyrights
save as an png
hugs
Jenny

































No comments:
Post a Comment