




for this tut you need the following...
you need FTL- Template I just love it :)
you can get it here
1 tube of your choice
I'm using Keith Garvey
you can get his work at MPT
No Scrap Kit but if you want to use one then pls
go a head....
WSL Mask # 80
ok first open up FTL Template
press Shift plus D and make an copy of the template
then close hers
ok now we are going to be flood filling the template
first lets go to
Materials-background-foreground-Choose your colors
I used Blue and Purpleish color
now using your floodfilling tool lets flood fill the 1st layer of the template
now do those steps for the rest of the template
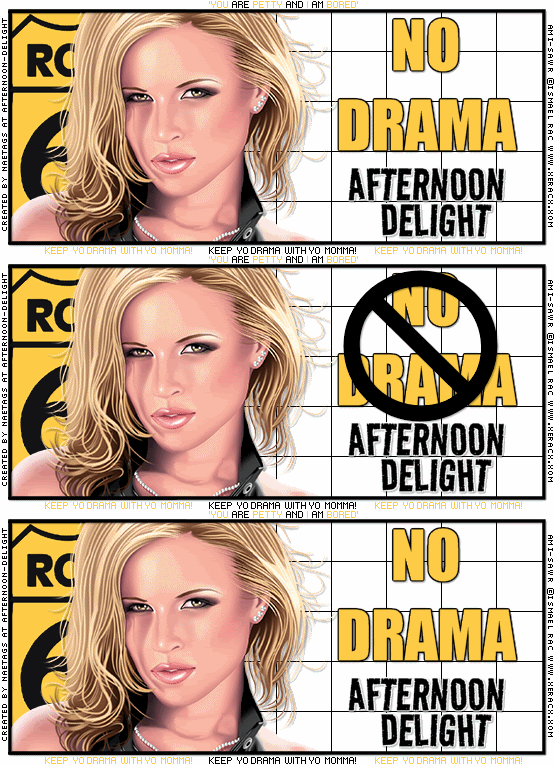
see my tag for the way it should look...
now lets add one your tube
now lets add the standing (dancing tube) to the
circles you are going to have to put one layer under the
bottom 2 circles take your eraser tool and erase
the parts hanging outside of the frames
now dulpicate it and move the copy to under the middle
frame and taking your erase tool lets erase things thats
hanging on the outside again
if your happy with it
lets go a head an add the close up version
to the MIddle rectangle
heres what I did
I 1st place her under the black layer on the frame
then I went to prop. change the blend mode on the black
layer to luminance it goes clear
now duiplcate the tube and move the tube above the frame
now take your eraser tool and erase the parts thats over the
frame dont worry the bottom tube is still there :)
now I add noise to all the frames to make them pop out

now lets add the mask layer by going to
open up your mask into PSP and another paper
make sure your on the paper
go up to layers down to New Mask Layer now find your mask
press ok
merge group copy it and paste it behind everything you just did....
now add your copyright and your name
save as an png
and remember to send in your results to me I would love to see them :)
hugs
Jenny































No comments:
Post a Comment