





for this tut you need the following
Scrap kit by Created by Jill
She is having an contest over at her shop
click her link and go see
1 tube of your choice
I'm using the amazing
keith Garvey
2 mask
1 by WSL Mask #81
1 of your choice
you ready
open an 600 by 600 image
open paper 5 then
now open up WSL mask # 81
now go to layers down to
new mask layer
from image find WSL mask press ok
merge group
then do it again with a lighter paper
and new mask
merge that together
now open her frame 2
resize it by 66%
now copy it and paste it on your paper
up an little bit bc you are going to
add it again this time make them
kind of over lap now take your
eraser tool and erase the top frames
part in the bottom frame
now lets add your paper for it
WITH MAGIC WAND CLICK INSIDE
SELECTIONS MODIFY BY 5
SELECTIONS MODIFY BY 5
using your magic wand click the inside of the frame go
up to layers add new lets press ok now floodfill
it with an papers of your choice
by going to Materials-background-foreground-patterns-paper or image
press ok
now move that below your frame
now open up flowers 1 and 2
first lets resize both
once you get that done
take flower 2 and place it 3 times in the middle of the frame
now take flower 1 place it 3 times under the flowers
just a little hanging out not much
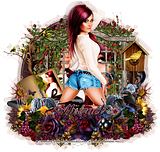
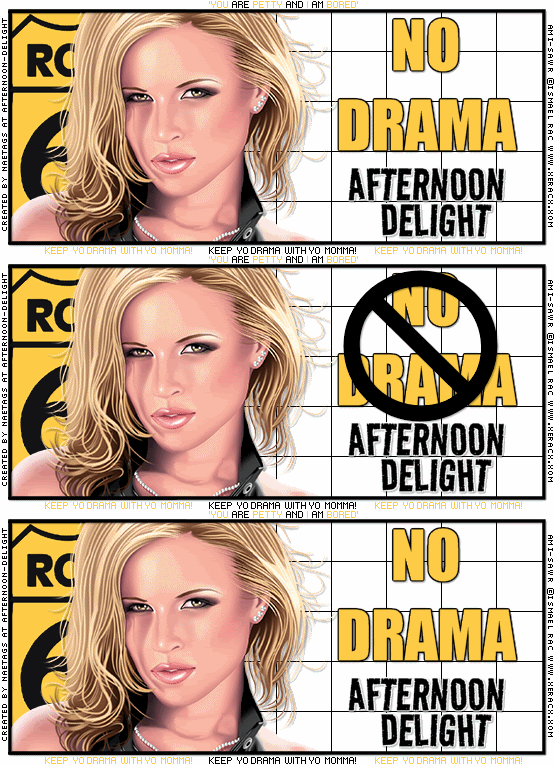
see my tag for what I'm talking about.
now add the tag I added it twice
put one under the flowers
now the top one erase the string
now move it a little so you can see the bottom tag just a bit.
now add the butterfly on the upper left handed side
now lets add your tubes.
do this the best way you know how
heres how I do it
now add the tube
if anything is hanging outside of the frame
then take your eraser tool and erase it now
now do that twice
now on the bottom tube
I change the blend mode by going to
layers down to prop. normal
lower it to bout 77%
now add your copyrights
add your name
save as an png
hugs
Jenny





























No comments:
Post a Comment