




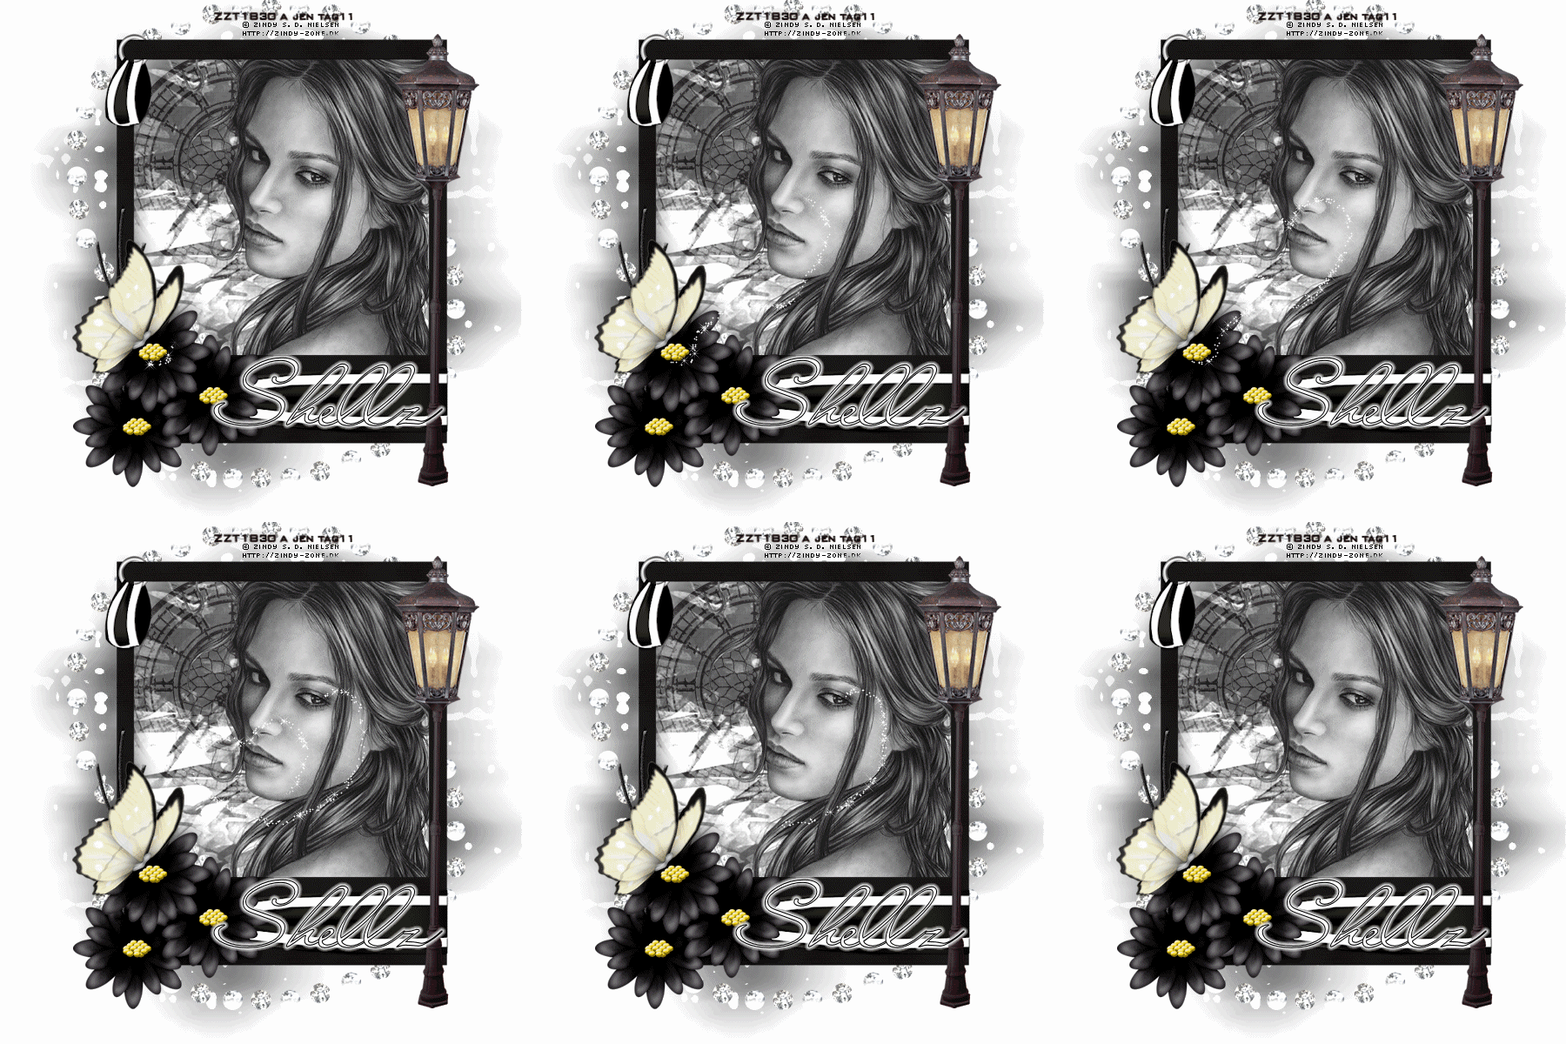
for this tut you need the following
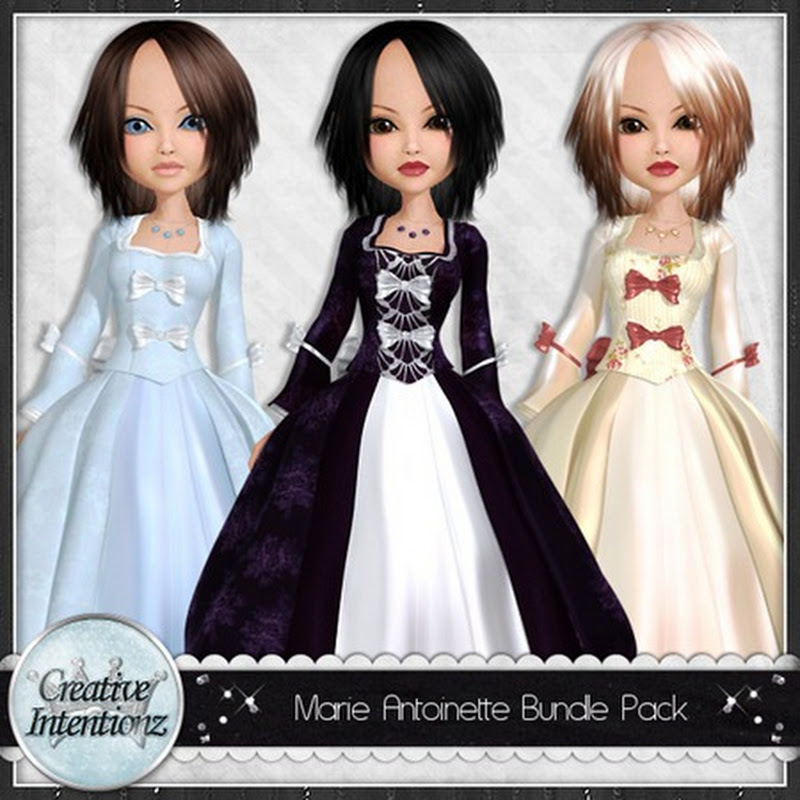
Scrap Kit by Shellez Creations
Just Memorys
you can get her work
at SWA
heres the becky mask since her site is no longer up

animation of your choice
now lets get started
OPEN PSP NEW IMAGE 750/600 FLOOD FILL WHITE
COPY AND PASTE FRAME 44 RESIZE
AS NEW LAYER
WITH MAGIC WAND CLICK INSIDE
SELECTIONS MODIFY BY 5
COPY AND PASTE FRAME 44 RESIZE
AS NEW LAYER
WITH MAGIC WAND CLICK INSIDE
SELECTIONS MODIFY BY 5
using your magic wand click the inside of the frame go
up to layers add new lets press ok now floodfill
it with an papers of your choice
by going to Materials-background-foreground-patterns-paper or image
now add the the tube
I just copied and pasted mine
now behind her I add the clock then I went to
layers down to prop. change the blend mode .
to lumiance press ok
it should be blending in to the background
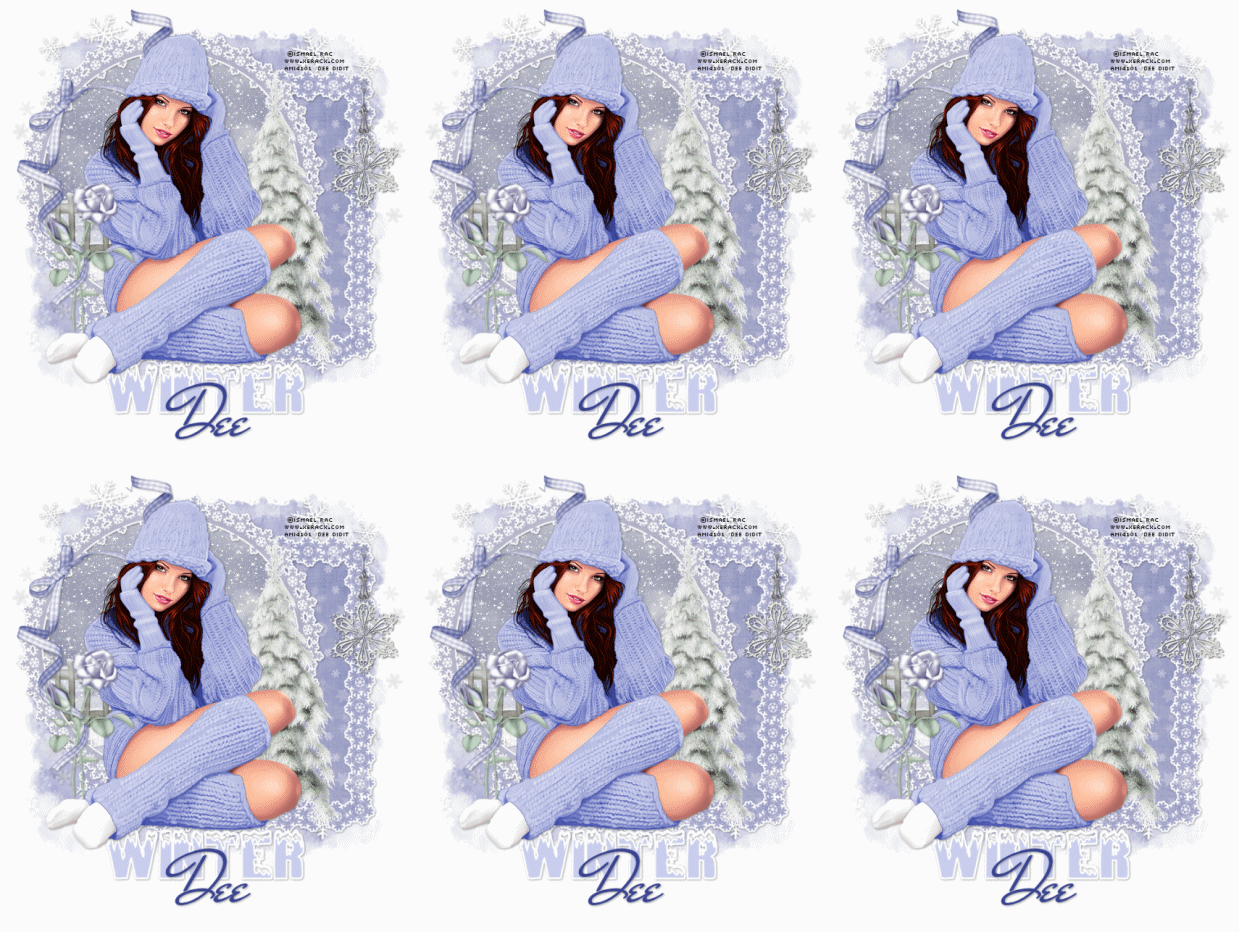
see my tag for how it should look
now add the butterfly to the flowers on the frame
on the black paper
go up to layers down to New Mask Layer
from image find Bev's Mask press ok
merge group copy merge
paste under everything on your tag
now right above it
add the diamonds doodles behind it
twice flip it and mirror it
add the lamp post
add your copyrights
add your name
if your not adding an animation
then pls save as an png
but if you are
open your animation in AS3
mine has 24 frames
so I dulpicate my tag until it has 24 frames also
now go back to the animation
press CTRL+A+C
on the tag press
CTRL+A+E
place it where you want it
if you happy save as an gif
hugs
Jenny





























No comments:
Post a Comment